The Ultimate Guide to Vinyl Wrap Installation: Transform Your Car's Look


Understanding Vinyl Wraps
Vinyl wraps have become a popular choice for car enthusiasts looking to change their vehicle's appearance without committing to a permanent paint job. These wraps offer an array of colors, textures, and finishes, making it easy to personalize your car. Not only do vinyl wraps enhance aesthetics, but they also protect the underlying paint from scratches and UV damage.
Before diving into the world of vinyl wraps, it's crucial to understand the material and its benefits. Vinyl is a durable, flexible film that can be applied to the surface of your car, transforming its look instantly. It's a cost-effective alternative to repainting and can be removed if you decide to revert to the original color.

Preparing Your Car for Vinyl Wrap Installation
Preparation is key to a successful vinyl wrap installation. Ensuring that your car's surface is clean and smooth is essential. Start by washing your car thoroughly to remove dirt, grime, and any wax residues. Use a degreaser to eliminate oils that may interfere with the adhesive's effectiveness.
Once your car is clean, inspect it for any imperfections such as dents or scratches. These should be addressed before applying the vinyl wrap, as they can create bubbles or wrinkles in the film. Sand down any rough areas and apply filler if necessary for a smooth finish.

Tools and Materials Needed
Having the right tools and materials on hand will make the installation process smoother and more efficient. Here’s what you’ll need:
- Vinyl wrap of your choice
- Squeegee for smoothing out bubbles
- Heat gun to make the vinyl more pliable
- Utility knife for trimming excess material
- Measuring tape and felt-tip pen for precise cuts
- Microfiber cloths for cleaning and finishing touches

The Installation Process
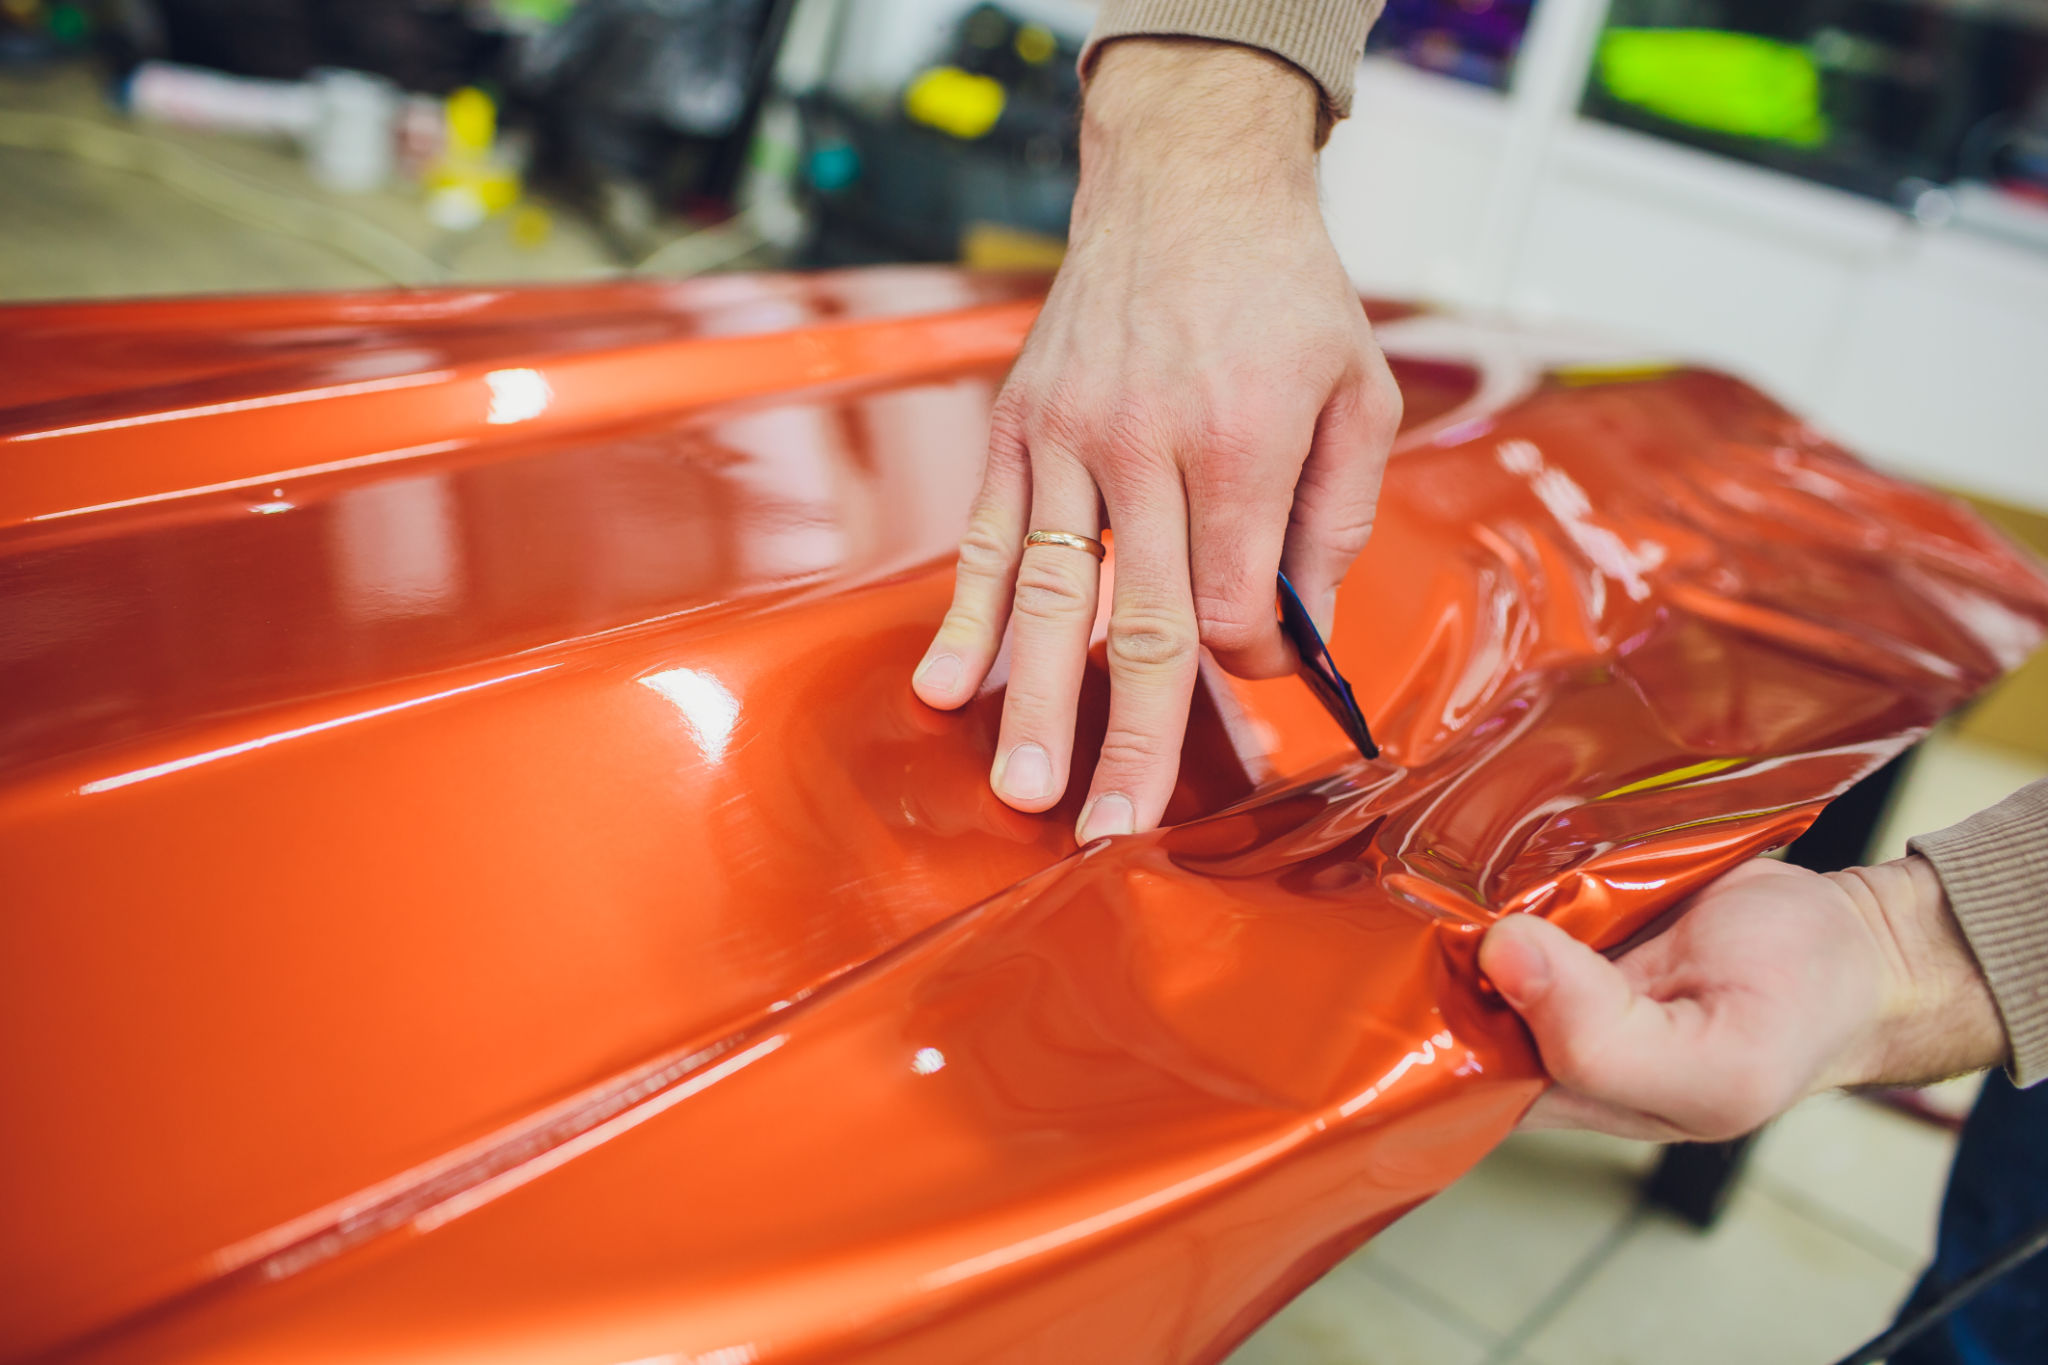
Begin by measuring each section of your car to cut the appropriate size of vinyl. It’s better to overestimate slightly to ensure complete coverage. Carefully peel the backing off the vinyl, exposing the adhesive side, and position it on the car’s surface.
Using a squeegee, gently press the vinyl onto the car, starting from the center and working towards the edges. This technique helps eliminate air bubbles and ensures a snug fit. If wrinkles occur, use a heat gun to soften the material and smooth it out with the squeegee.
Trimming and Finishing Touches
Once the vinyl is applied, use a utility knife to trim any excess material around edges and panels. Be cautious not to cut too close to the paint, which might cause damage. Pay extra attention to intricate areas such as door handles and mirrors, where precision is crucial.
Finish by reapplying any removed parts, such as emblems or trims. Clean up any fingerprints or smudges with a microfiber cloth for a pristine look. Your newly wrapped vehicle is now ready to hit the road with its striking new appearance!

Caring for Your Vinyl Wrap
To maintain the longevity and appearance of your vinyl wrap, regular care is necessary. Hand wash your car with mild soap and water, avoiding automatic car washes that can damage the film. It's also important to dry your car thoroughly to prevent water spots.
Avoid parking in direct sunlight for extended periods, as UV rays can fade the color over time. Applying a protective wax designed for vinyl can help shield against environmental damage and keep your wrap looking fresh.
When to Seek Professional Help
While DIY installation is possible, some car owners may prefer leaving it to professionals, especially for complex designs or luxury vehicles. Professionals have the experience and tools necessary to ensure a flawless application without damaging your car's paint.
If you're unsure about tackling certain aspects of the installation or simply want peace of mind, reaching out to an experienced installer can be a worthwhile investment.